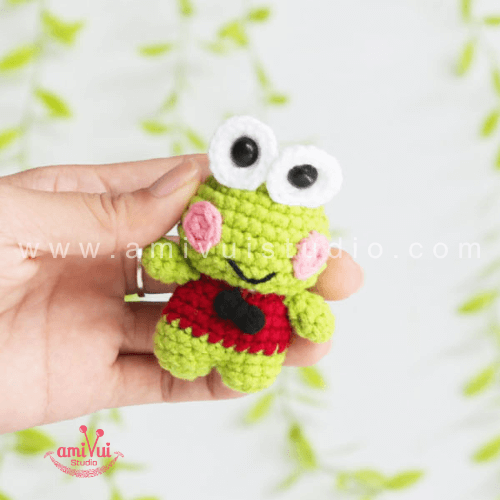
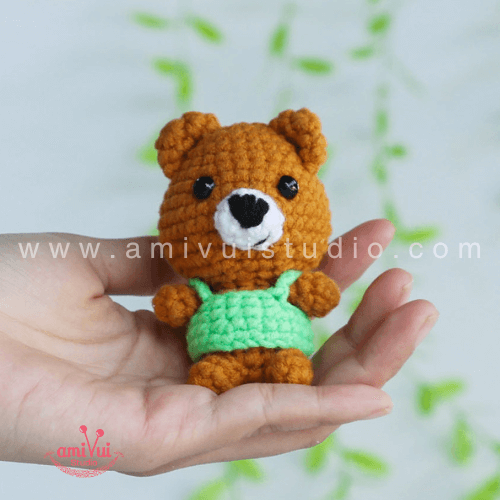
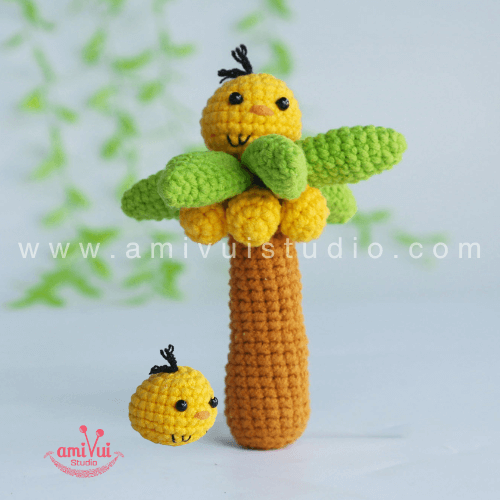
The magic ring, also known as the magic circle or magic loop, is a versatile technique to start your crochet projects in the round. It creates a tightly closed center, perfect for projects like amigurumi, hats, bags, and more. Follow this step-by-step tutorial to master the magic ring.
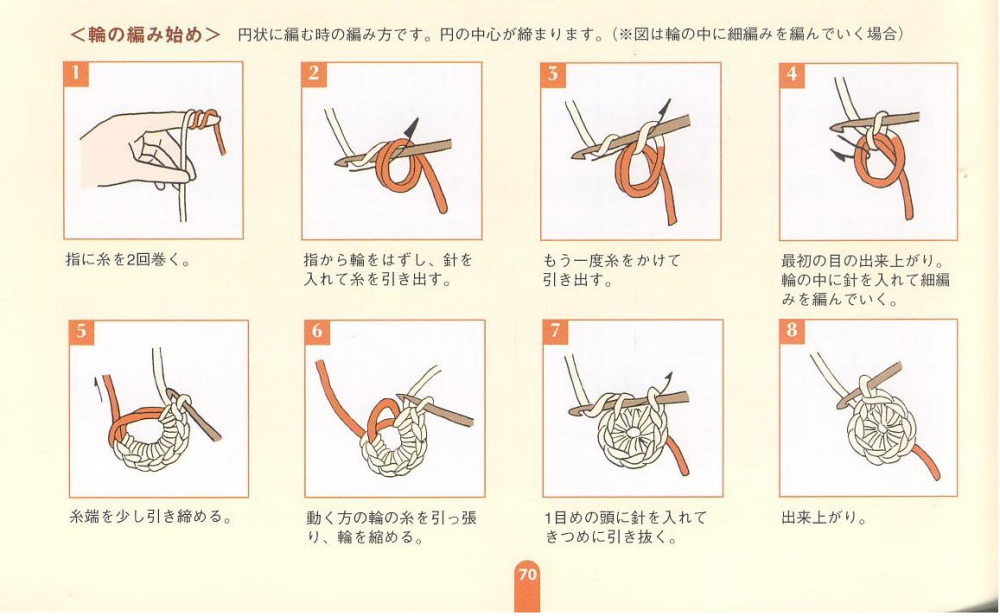
Step-by-Step Tutorial:
- Form the Loop:
- Hold the tail end of your yarn in your left hand (if you are right-handed).
- Drape the working yarn over your left hand, forming a loop with the tail end crossing over the working yarn.
- Insert Your Hook:
- Insert your crochet hook under the first loop (tail end) and over the second loop (working yarn).
- Grab the working yarn with your hook and pull it through the loop, creating a small loop on your hook.
- Chain One (for stability):
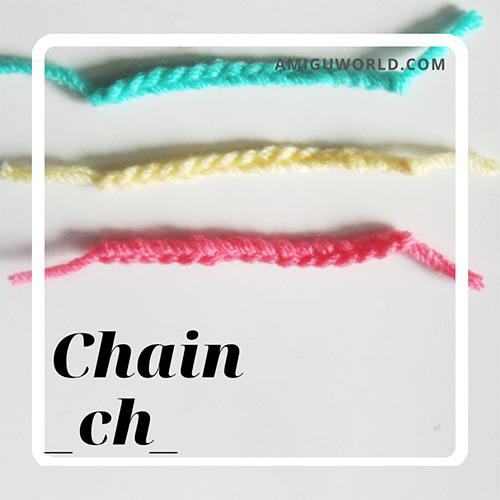
- Chain one to secure the loop. This step is optional but helps stabilize your magic ring.
- Crochet Stitches into the Ring:
- Now, you will crochet the required number of stitches into the ring. For example, if you need to start with six single crochets (sc), insert your hook into the ring, yarn over, and pull up a loop. Yarn over again and pull through both loops on your hook. Repeat this step until you have the desired number of stitches.
- Tighten the Ring:
- Once you’ve crocheted the necessary stitches, gently pull the tail end of the yarn to tighten the loop. This will close the center of your ring.
- Join the Round (if necessary):
- If your pattern requires joining the round, slip stitch into the first stitch you made to close the circle. Otherwise, you can continue working in a spiral.
Tips:
- Practice a few times to get comfortable with the technique.
- Ensure the loop is not too tight initially, making it easier to work the stitches into the ring.
Now that you’ve learned how to crochet a magic ring, you can use it for a variety of projects, including crochet amigurumi, hats, bags, and more. Happy crocheting!
#Amivuistudio


