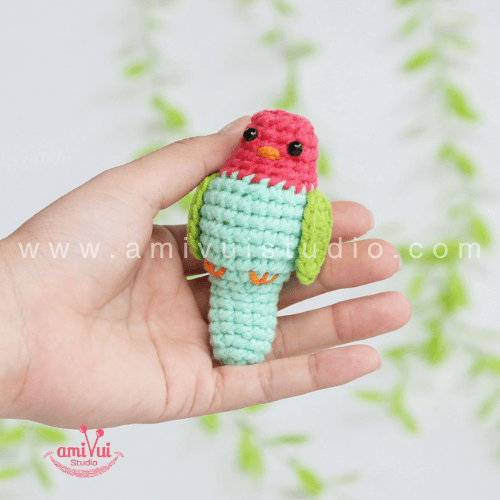
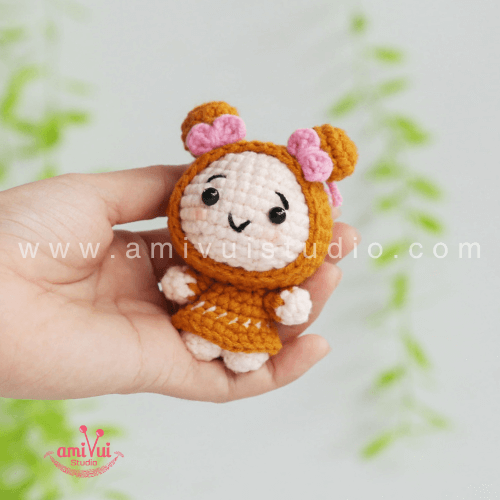
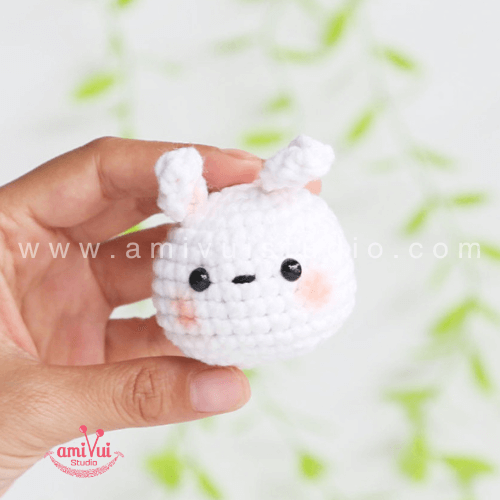
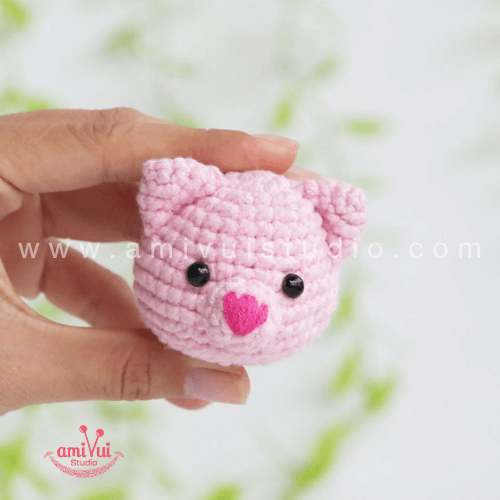
Craft your own adorable mini-sized chick amigurumi keychain, complete with a tiny hat! This quick and fun crochet project is perfect for beginners and makes a delightful addition to your keyring or as a unique gift. Follow the step-by-step instructions to bring this little cutie to life.

Chick with hat amigurumi – Free crochet pattern by Amivui Studio
Pattern by: Amivui Studio
Picture: Amivui Studio
Tutorial video: Amivui Studio
Abbreviations:
R = round
mr = magic ring
sc = single crochet
inc = increase (2 sc in the next stitch)
dec = decrease (join the next 2 stitches into 1)
sl st = slip stitch
st = stitch
ch = chain
BLO = back loop only
FLO = front loop only
FO = finish off
[ ] = number of stitches you should have at the end of the round/row
( ) x 6 = repeat whatever is between the brackets the number of times stated
To crochet Chick amigurumi you need:
– Yarn: yellow, pink
– Crochet hook: 3-4 mm
– Eyes: 5mm
– Fiberfill for stuffing
– Sewing needle, scissors
Amigurumi Chick Keychain
Free crochet pattern
Head
Start with yellow yarn
| R 1: 6 sc in mr | [6] |
| R 2: inc x 6 | [12] |
| R 3: (1 sc, inc) x 6 | [18] |
| R 4: (2 sc, inc) x 6 | [24] |
| R 5-6: 24 sc (2 rounds) | [24] |
| R 7: (3 sc, inc) x 6 | [30] |
| R 8: (4 sc, inc) x 6 | [36] |
| R 9-11: 36 sc (3 rounds) | [36] |
| Insert the eyes between rounds 9-10, 4 sts apart | |
| R 12: (4 sc, dec) x 6 | [30] |
| R 13: (3 sc, dec) x 6 | [24] |
| R 14: (2 sc, dec) x 6 | [18] |
| R 15: (1 sc, dec) x 6 | [12] |
| R 16: dec x 6 | [6] |
Stuff with fiberfill. Cut the yarn, and hide the tail.
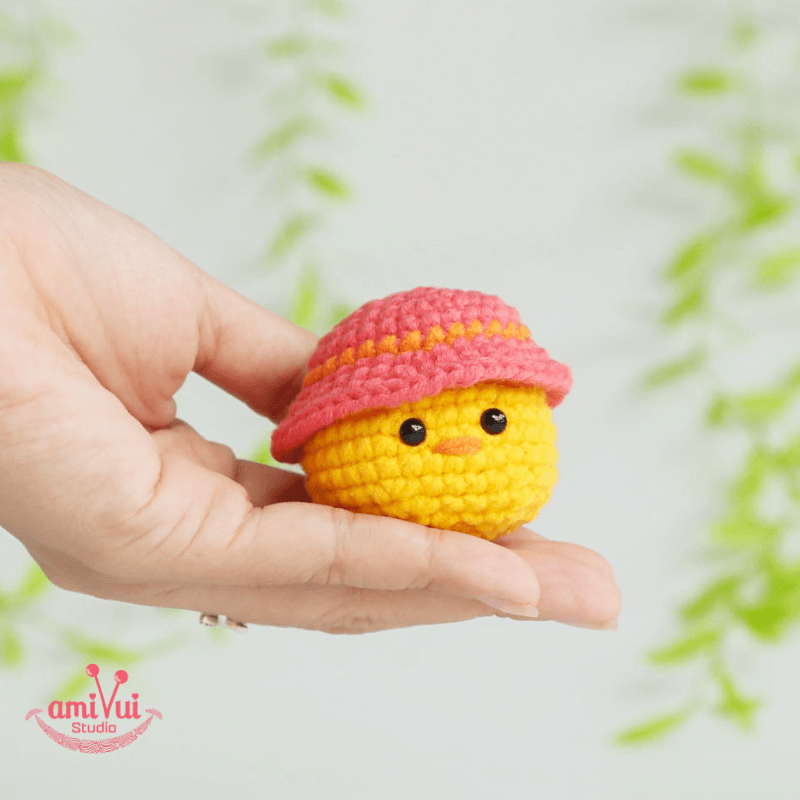
Chick with hat amigurumi – Free crochet pattern by Amivui Studio
Hat
Start with pink yarn
| R 1: 6 sc in mr | [6] |
| R 2: inc x 6 | [12] |
| R 3: (1 sc, inc) x 6 | [18] |
| R 4: (2 sc, inc) x 6 | [24] |
| R 5: (3 sc, inc) x 6 | [30] |
| R 6: 30 sc | [30] |
| Change to yellow yarn | |
| R 7: 30 sc | [30] |
| Change to pink yarn | |
| R 8: Flo (2 sc, inc, 2 sc) x 6 | [24] |
| R 9: (5 sc, inc) x 6 | [30] |
| R 10: (3 sc, inc, 3 sc) x 6 | [36] |
Stuff with fiberfill. Cut the yarn, and hide the tail.
Chick with hat amigurumi – Free crochet pattern by Amivui Studio
Assembly:
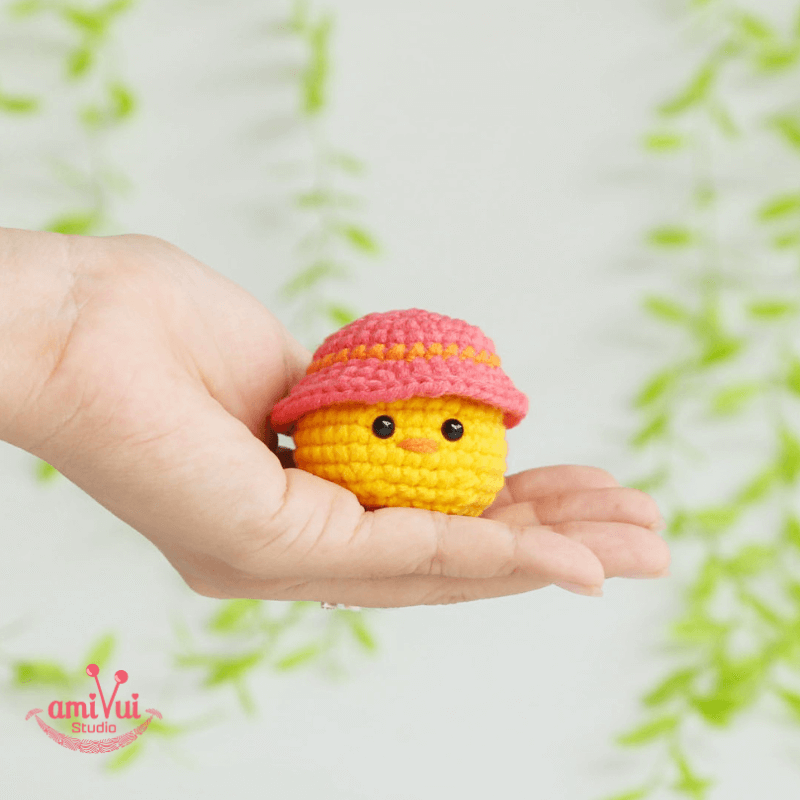
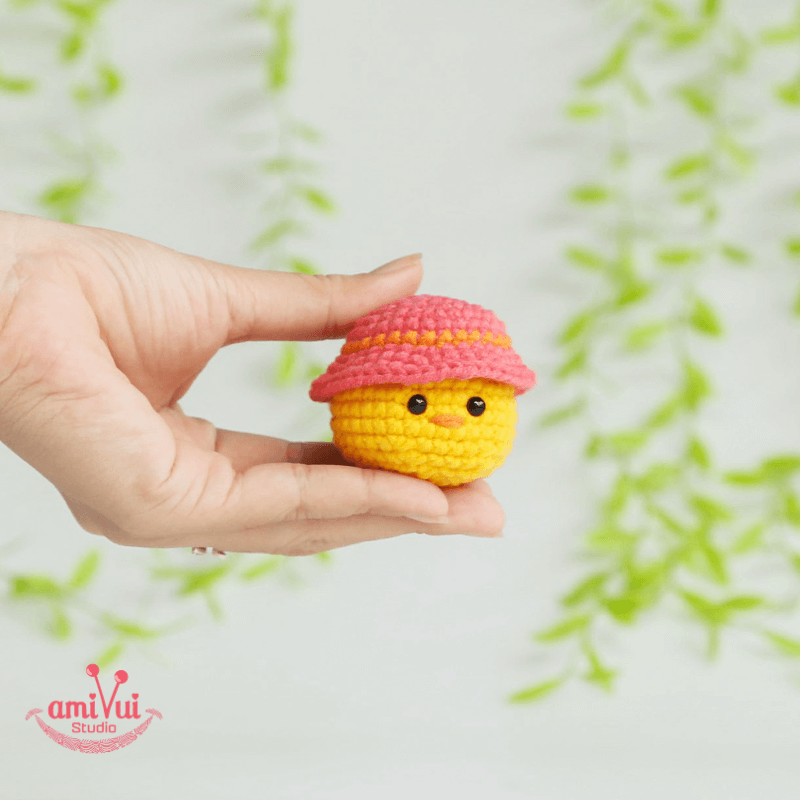
– Take the tiny hat you’ve crocheted for your chick amigurumi. Carefully position the hat on top of the chick’s head where you want it to sit. Make sure it looks cute and snug. Once you’re satisfied with the placement, use a yarn needle and matching yarn color to sew the hat in place. Insert the needle through the stitches of the hat and the stitches on the chick’s head. Sew around the edge of the hat to secure it firmly.
Chick with hat amigurumi – Free crochet pattern by Amivui Studio
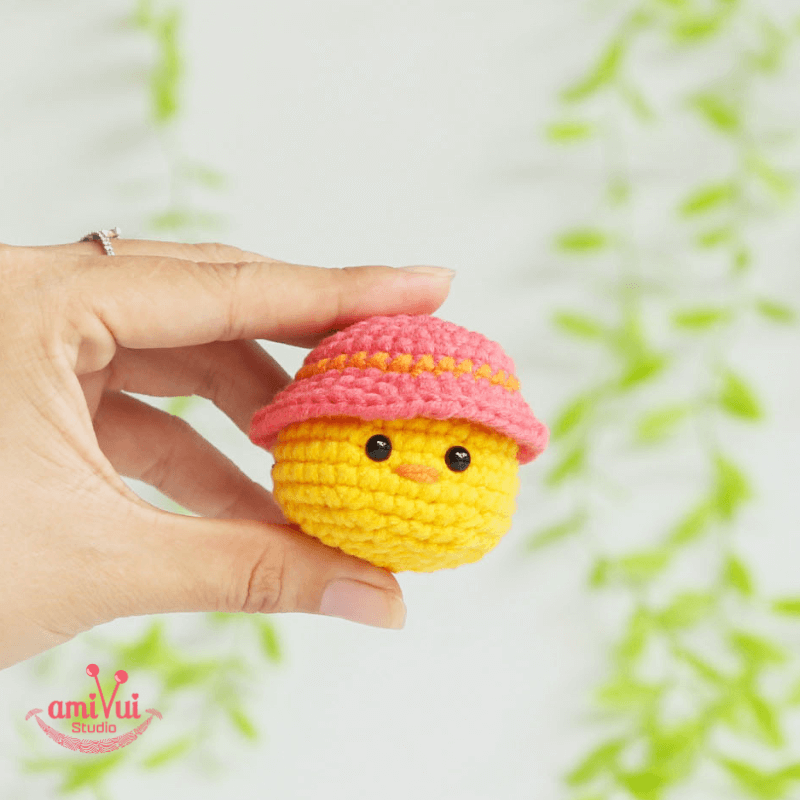
– Thread a small amount of orange or yellow yarn onto an embroidery or tapestry needle. Make sure the yarn tail is secure on the inside of the chick’s head. Create a simple straight stitch by bringing the needle back down to the inside of the head, forming a small line. This will be the beak. To secure the beak, make a small knot on the inside, trim the excess yarn, and hide the yarn tail inside the amigurumi.
Now your chick amigurumi has a cute hat and a sweet beak! Enjoy your adorable creation!
Chick with hat amigurumi – Free crochet pattern by Amivui Studio
Thank you for creating this charming chick with us! If you enjoyed this project, stay tuned for more amigurumi inspiration. Feel free to share your creations on social media and tag us @amivuistudio. Happy crafting!
♥ Crochet with Amivui Studio
Don’t forget to share snapshots of your crochet Chick Keychain amigurumi, crafted using our Free Amigurumi Chick Keychain Pattern, in our vibrant Facebook group. Connect with fellow enthusiasts and share your passion for this delightful art form.
For a delightful array of whimsical amigurumi patterns, explore the treasures awaiting you at Amivui Studio’s store. From charming creatures to cuddly companions, let your imagination soar as you embark on a captivating journey of crafting. Happy crafting and may your creations bring joy to all!
Thank you very much
☆ゝ ʕ•ᴥ•ʔゝ☆
#Amivuistudio


